

使用教程:
在模版的functions.php文件将以下代码改为自己的域名文件在gmc.zip里面
'import_file_name' => esc_html__( 'GMC专用模版导入', 'GMC专用模版' ),'import_file_url' => esc_url( 'https://xxx.com/wp-content/plugins/1/ceacer-gmc.xml', 'GMC专用模版' ),'import_widget_file_url' => esc_url( 'https://xxx.com/wp-content/plugins/1/ceacer-gmc.wie', 'GMC专用模版' ),'import_preview_image_url' => esc_url( 'https://xxx.com/wp-content/plugins/1/screenshot.jpg', 'GMC专用模版' ), |
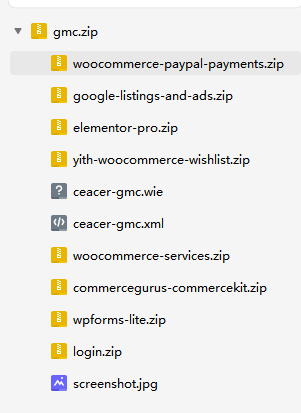
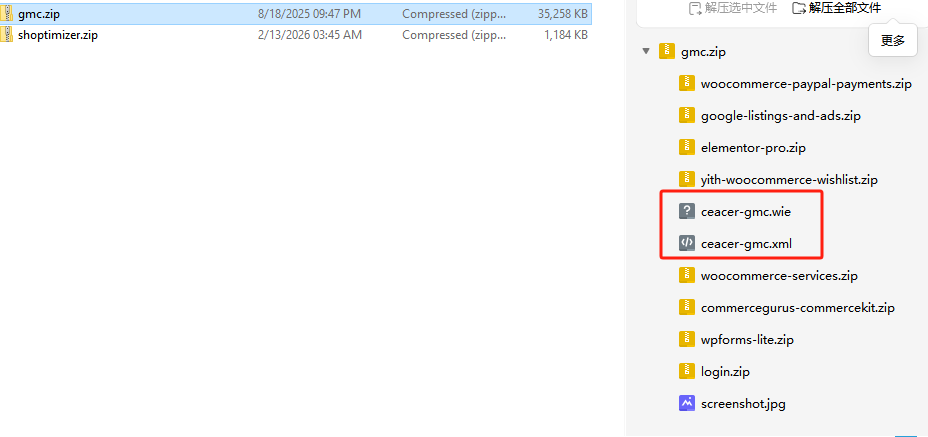
然后把gmc.zip上传到插件目录解压出来,下图两个是导入演示数据的文件
导入前一定要把原来的页面删除不然就会出现多个两个的页面

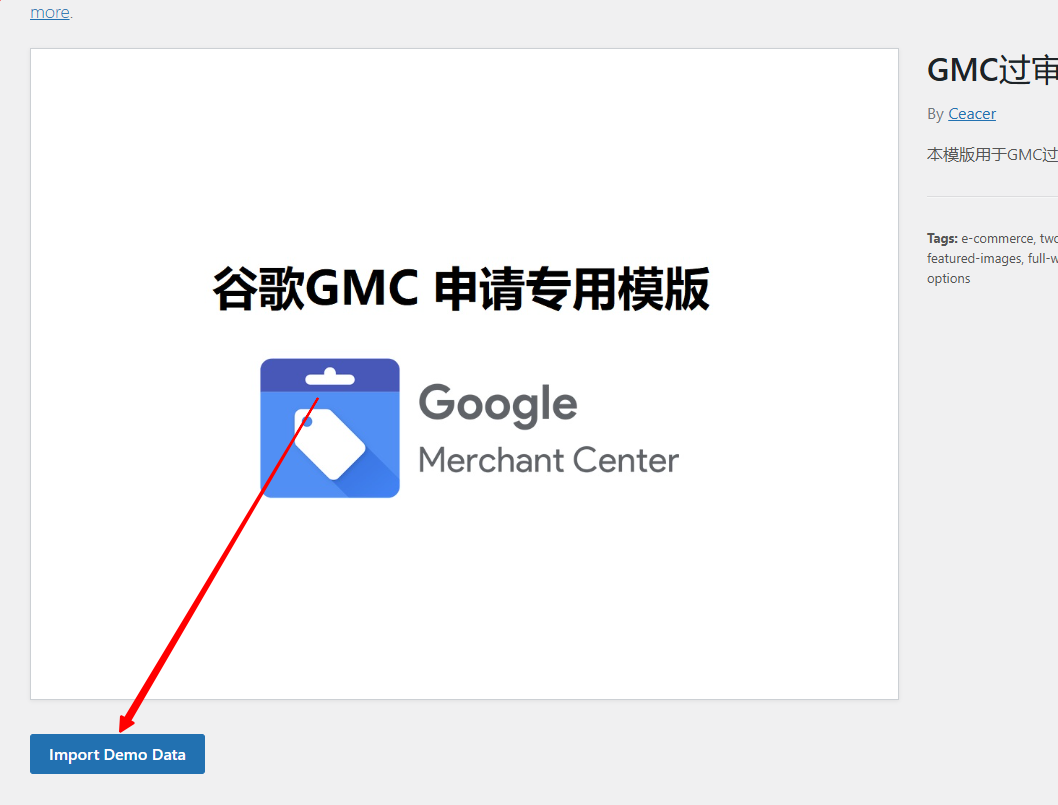
都弄好之后点击导入
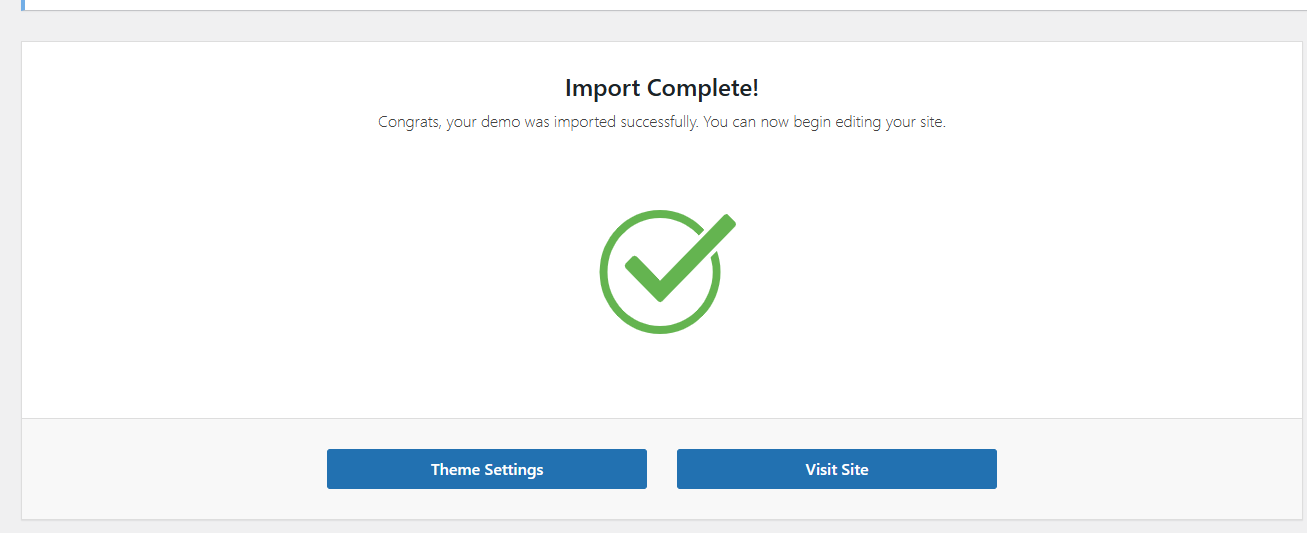
导入完成
由于之前导入过了
所以没变化,我重新安装下在导入

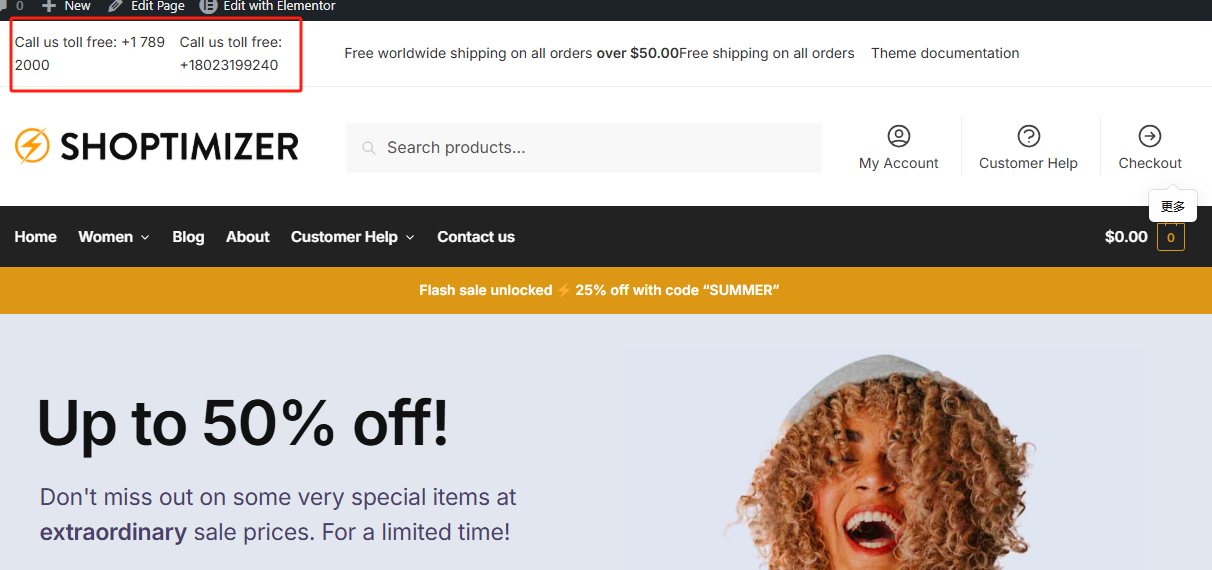
这是导入后的除手机号,其他都是用段代码调用的
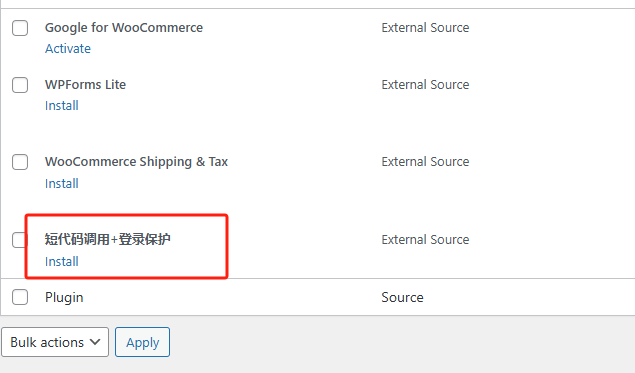
因此,你需要安装这个插件,插件都包含在gmc.zip全部解压出来即可

评论留言